—–UPDATED 4/18/18——-
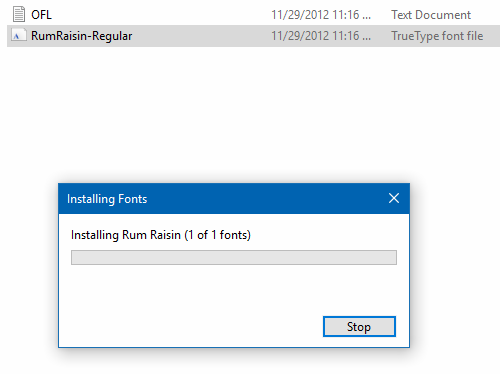
Right click on the font you want to install. Click Install.
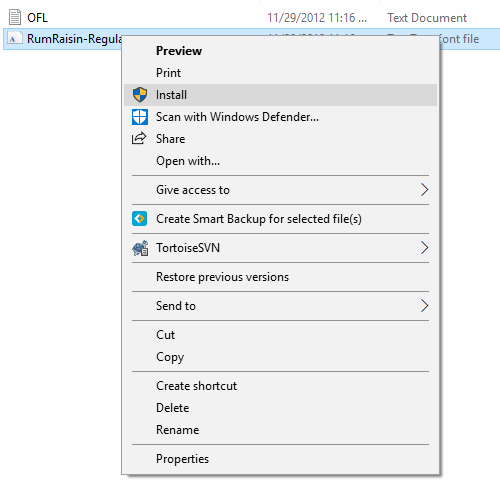
That’s it.
—- WINDOWS XP – VISTA – OLDER VERSIONS OF WINDOWS —-
Installing OpenType or TrueType Fonts in Windows – This may vary somewhat from depending on your OS.
Choose Start > Settings > Control Panel
Note: In Windows XP or Vista, choose Start > Control Panel
Double-click the Fonts folder.
Choose File > Install New Font.
Locate the fonts you want to install.
In the Drives list, select the drive and the folder containing the fonts you want to install.
In the Folders list, select a folder that contains the fonts you want to install. The fonts in the folder appear under List of Fonts.
Select the fonts to install. (To select more than one font, hold down the CTRL key and click each font.)
To copy the fonts to the Fonts folder, make sure the Copy fonts to the Fonts folder check box is selected.
Click OK to install the fonts.
Like this tutorial? I would love to hear from you in the comments…